How to Check the
House Framing
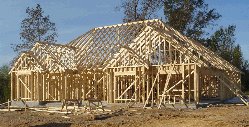
Framing the house is one of the most exciting phases of the entire project! Your hopes and dreams begin to literally take shape as the studs, joists and rafters go up!
It's one thing to look at drawings and pictures to imagine how your house will look, but it's a lot more fun to stand in front of your house, comparing the drawings to the walls and roofs that got built that day. But this isn't just fun - this is serious business.
Whether or not your house will turn out like the drawings, the way you intended, depends upon how well the framer does his job, and upon the materials you decide to use.
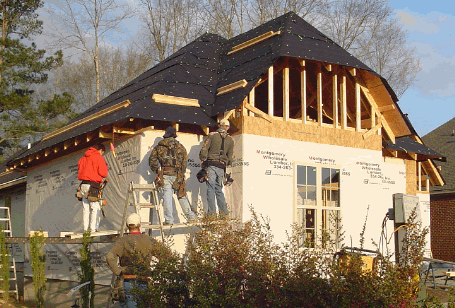
What Does the Framer Do?
In our area (central Alabama), these are the items that this subcontractor usually has in his work:
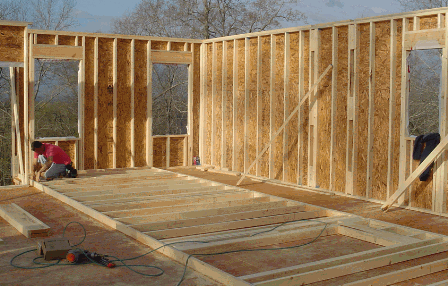
Stay Ahead of the Game!
Before you get to the concrete stage, take your drawings to a good lumber and building materials supply house - one that will figure quantities for you. If you want to compare prices among suppliers, don't compare the totals that you get from each one. One of the suppliers will have the cheapest "bottom line" total, but their quantities may not be correct. The quantities of lumber and materials that you buy, in the end, will be whatever amount it takes to complete the house. Compare the suppliers' unit prices, because that's what makes the real difference.
Get settled on your supplier, and keep them informed of your project status. When you are ready, and the framer is set to start work on a particular day, don't wait until the afternoon before to call the lumber supplier! They usually need a couple of days to assemble, load, and schedule the delivery of the studs and other lumber.
A good supplier will also work with you to do sensible deliveries. You won't want a big load of lumber delivered on Friday afternoon that will sit all weekend on the job site. Try to get it delivered first thing on Monday morning.
Your framer should also contact and coordinate with the supplier to schedule deliveries as they need materials.
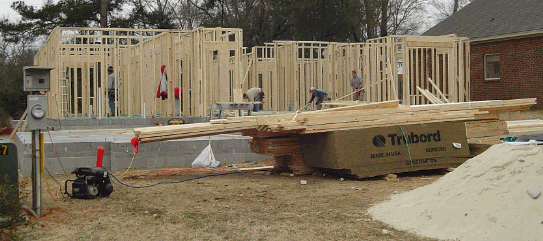
Buy a 10 foot wide roll of 4 mil or 6 mil plastic (polyethylene). Keep it in your vehicle, and use it to cover lumber and other materials to help shed rain. Putting the plastic over the lumber piles, and taking it off every day, makes keeping the plastic reasonably clean a challenge.
Take the concrete blocks that were left over from your foundation walls, and use them to weigh down the plastic so it won't blow around. Ask the workers to put the plastic back over the stacks of lumber each day when they leave to go home, if there is a threat of rain.
The framer will begin by laying out, with chalk lines, every partition. If possible, be at the house site while they are laying out the house. Don't hesitate to measure and check the wall layout against the dimensions on the plans, and carry your measuring tape and house plans with you every time you go to the house.
I have discovered partitions marked in the wrong place, that weren't aligned parallel to the rest of the house, so check both ends of each wall.
A 2x4 stud is not 2"x4" - it's 1-1/2 inches thick and 3-1/2 inches wide. A 2x6 is 1-1/2" x 5-1/2". Remember those sizes when you are checking dimensions and locations of walls.
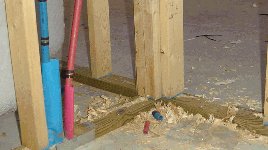
The sole plates of the walls (the bottom 2x4s that are nailed to the slab) will be pressure treated lumber. This wood will either be a blue-green color, or it will be a darker wood tone, sometimes with a yellow cast. There should be a certification tag stapled to the end of each board. Pressure treated wood is more resistant to insects and to moisture that can wick out of the slab into the wood.
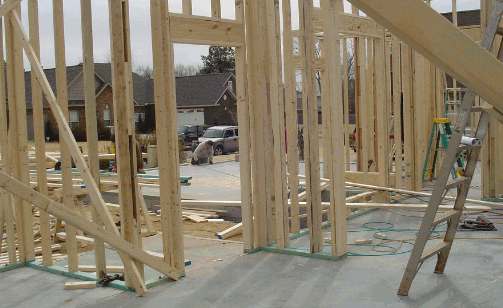
The bottom plates will be either nailed down first, and the wall studs toe nailed onto them, or the entire partition will be built flat and then stood up in one piece. Framer's preference.
Insulating Seal at
Bottom of Perimeter Walls
You usually won't find insulating foam seal material installed under the perimeter walls of houses, but it's a really good practice. The top surface of the floor or slab will not be perfectly flat, and the foam insulating seal fills these imperfections to help make a more airtight seal.
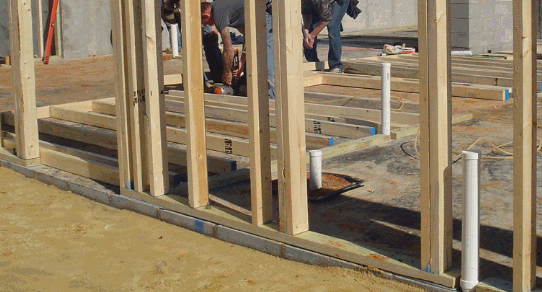
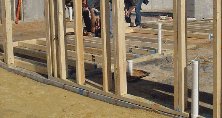
You can see the blue foam seal in the photo below.
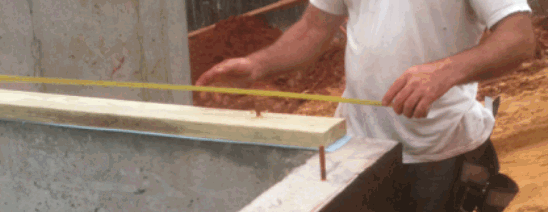
Foam seal comes in 50-foot rolls 3-1/2 inches wide for 2x4 stud walls, and 5-1/2 inches wide for 2x6 stud walls. You can buy Dow "Sill Seal" (blue) at Lowe's or Owens Corning "FoamSealR" (pink) at Home Depot. This stuff is cheap - about 10-12 cents a running foot - so don't leave it out.
TIP - Especially on a breezy day, lay the foam seal strip on the bottom plate and use a staple gun to tack it on. Then, flip the board over and anchor it to the slab. This method assures that the foam seal runs straight with the stud wall, and doesn't blow around while the framer is trying to set the wall or bottom plate over it.
Who buys the foam seal, and how much do we need?
You will probably have to buy this material yourself and bring it to the job site. Calculate the combined lengths of all the perimeter walls, including the doors, adding a little for waste and corners. Since the foam seal makes a great cushion and seal along the bottoms of the windows when they are installed, use it at all the windows too. Add up all the window widths, add that to the wall figure, and divide the total by 50. That's the number of rolls you need to buy (based on 50-foot rolls).
Talk with the workers about using the foam seal along the underside of each door threshold - it makes a great air seal there too. Set aside, away from the job site, the rolls needed for the windows. You will bring this back to the house later, just before the installation of the windows.
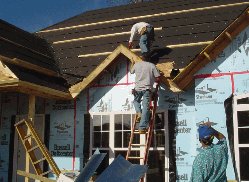
This is an exciting time in your home building project, so enjoy it! Take lots of pictures!
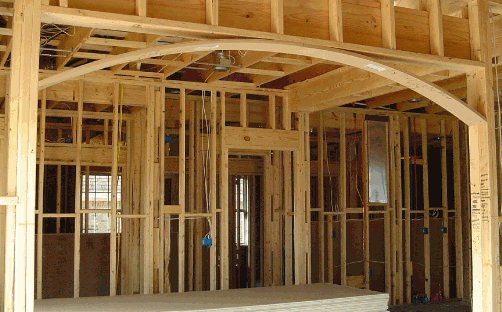
Learn the right way to Build Arch Framing.






Comments
Have your say about what you just read! Leave us a comment or question in the box below.